What is a microcontroller?
Micro - means small or tiny

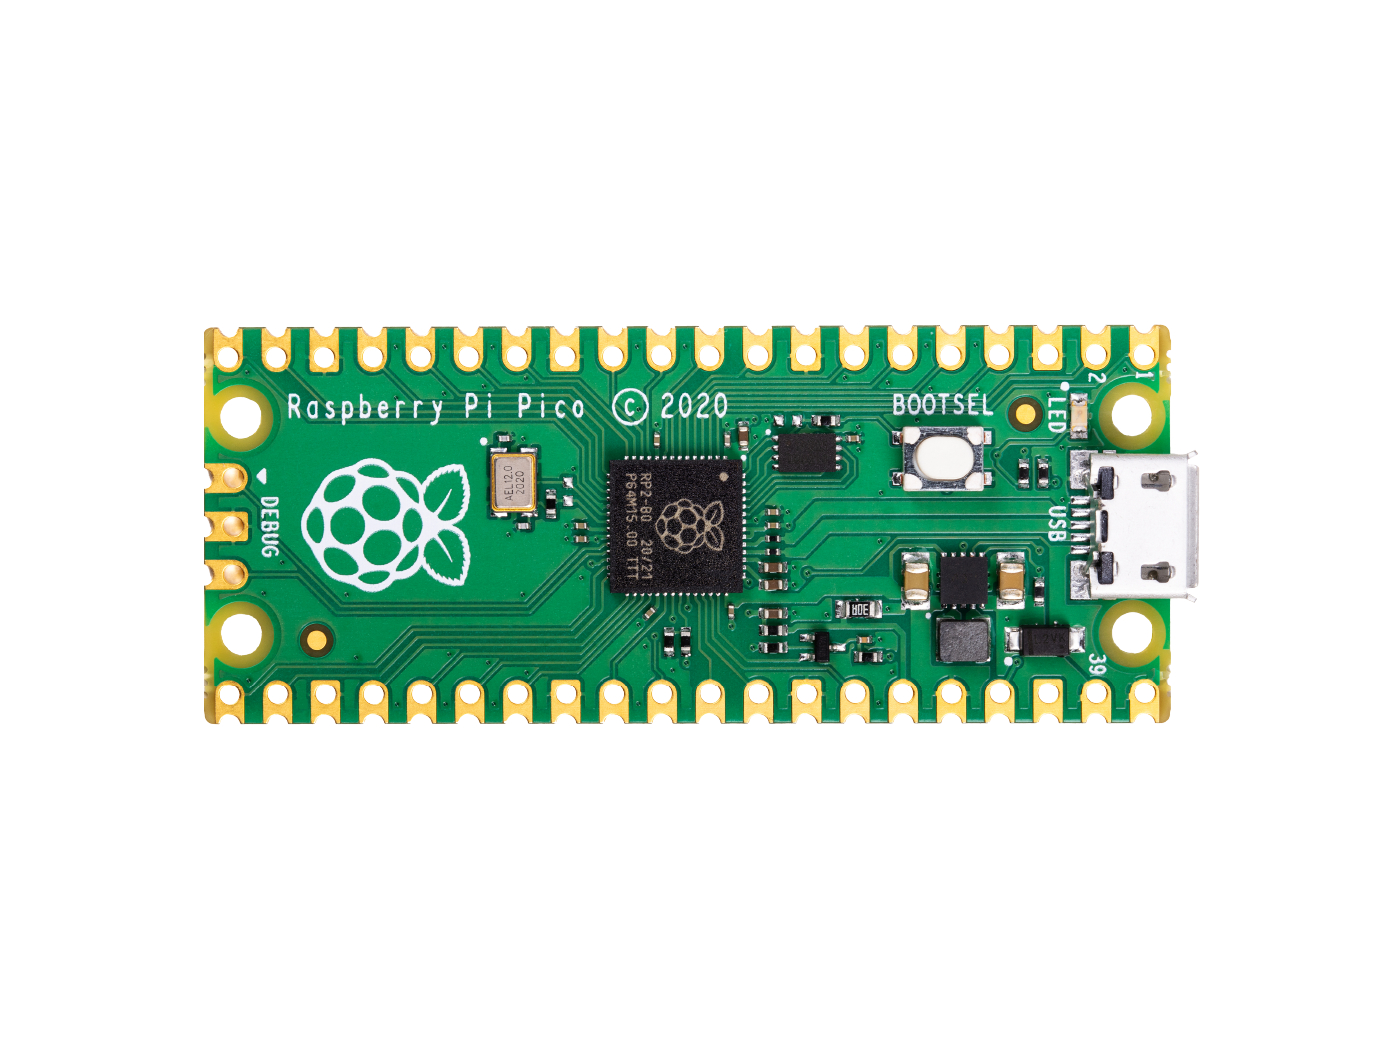
Sometimes it refers to the size, but for computers it stands for capabilities.
It is historical name, some modern microcontroller can look like a computer (a bit slower) but yet capable.
Eugeniy E. Mikhailov and Joshua Erlich
BLAST 2024 (http://physics.wm.edu/~evmik/talks/)
Micro - means small or tiny


Sometimes it refers to the size, but for computers it stands for capabilities.
It is historical name, some modern microcontroller can look like a computer (a bit slower) but yet capable.
Often low capabilities compensated by unique abilities:
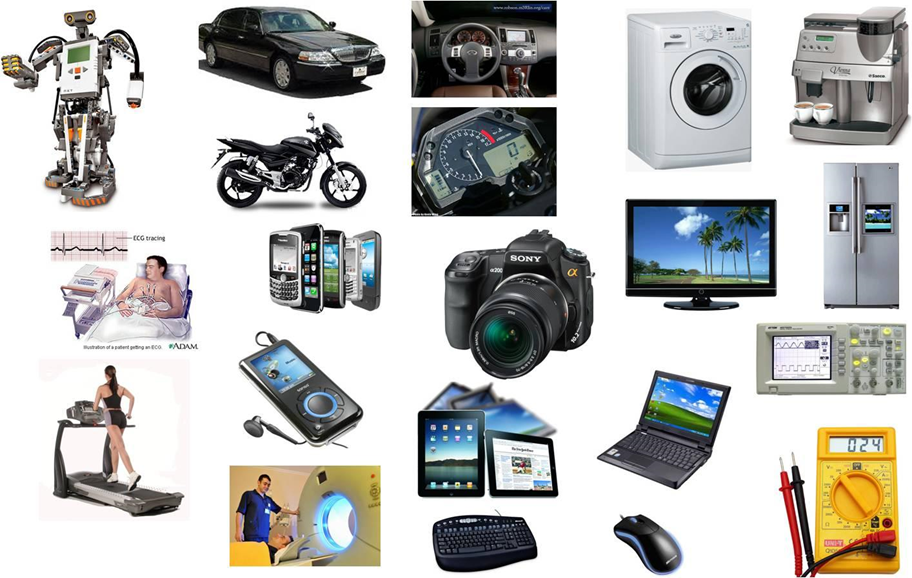
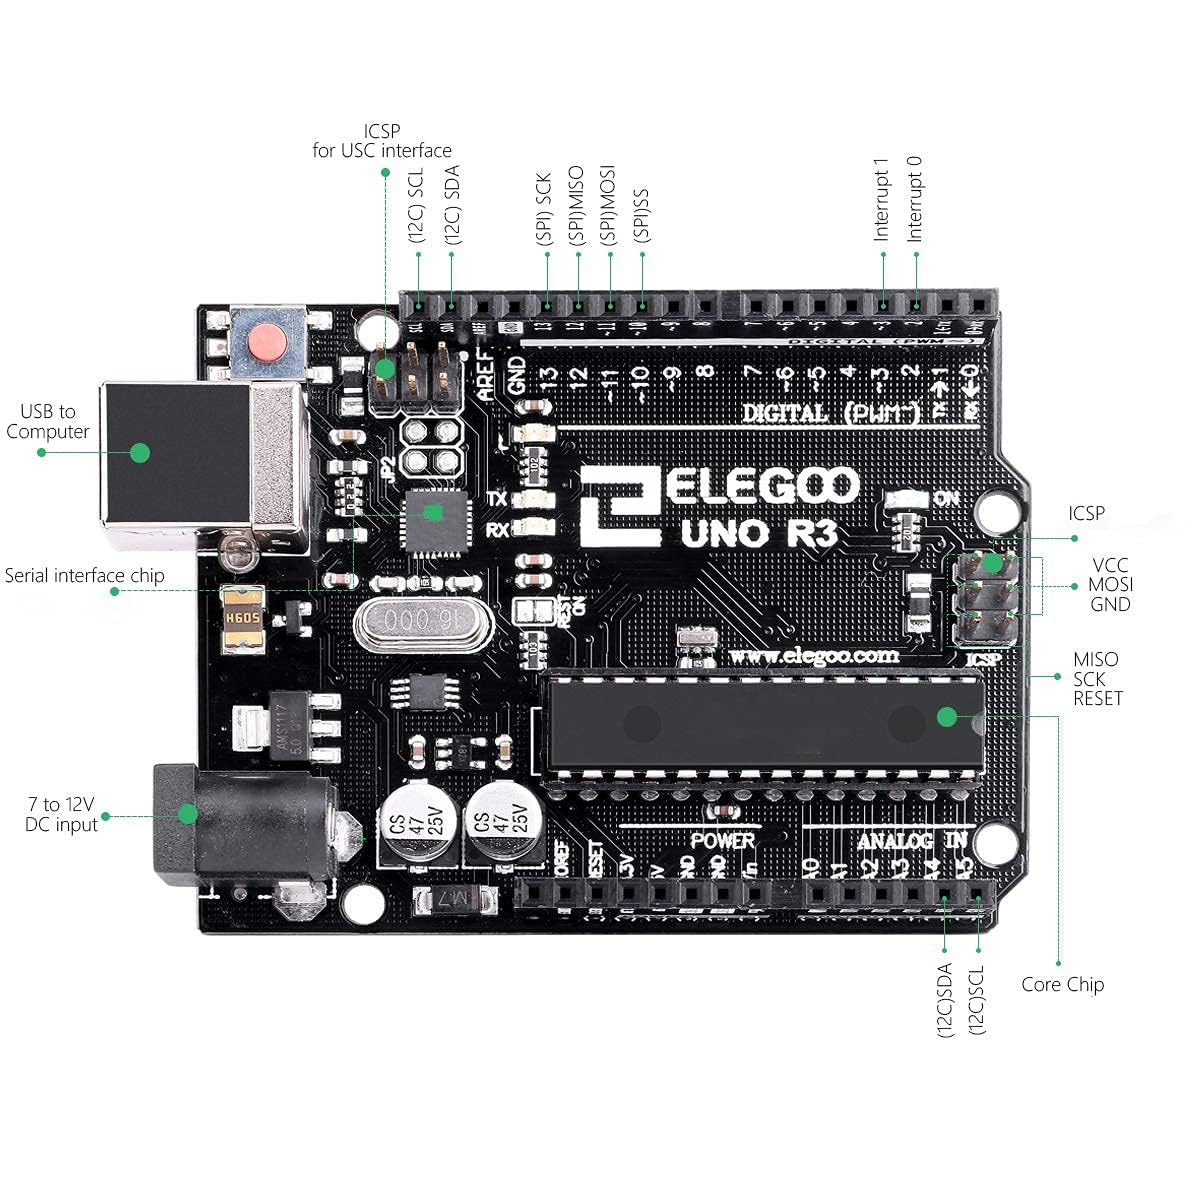
Go “File” -> “Examples” -> “0.1 Basic” -> “Blink”
This example uses built-in LED, no need for extra assembly
Go “File” -> “Examples” -> “0.1 Basic” -> “Fade”
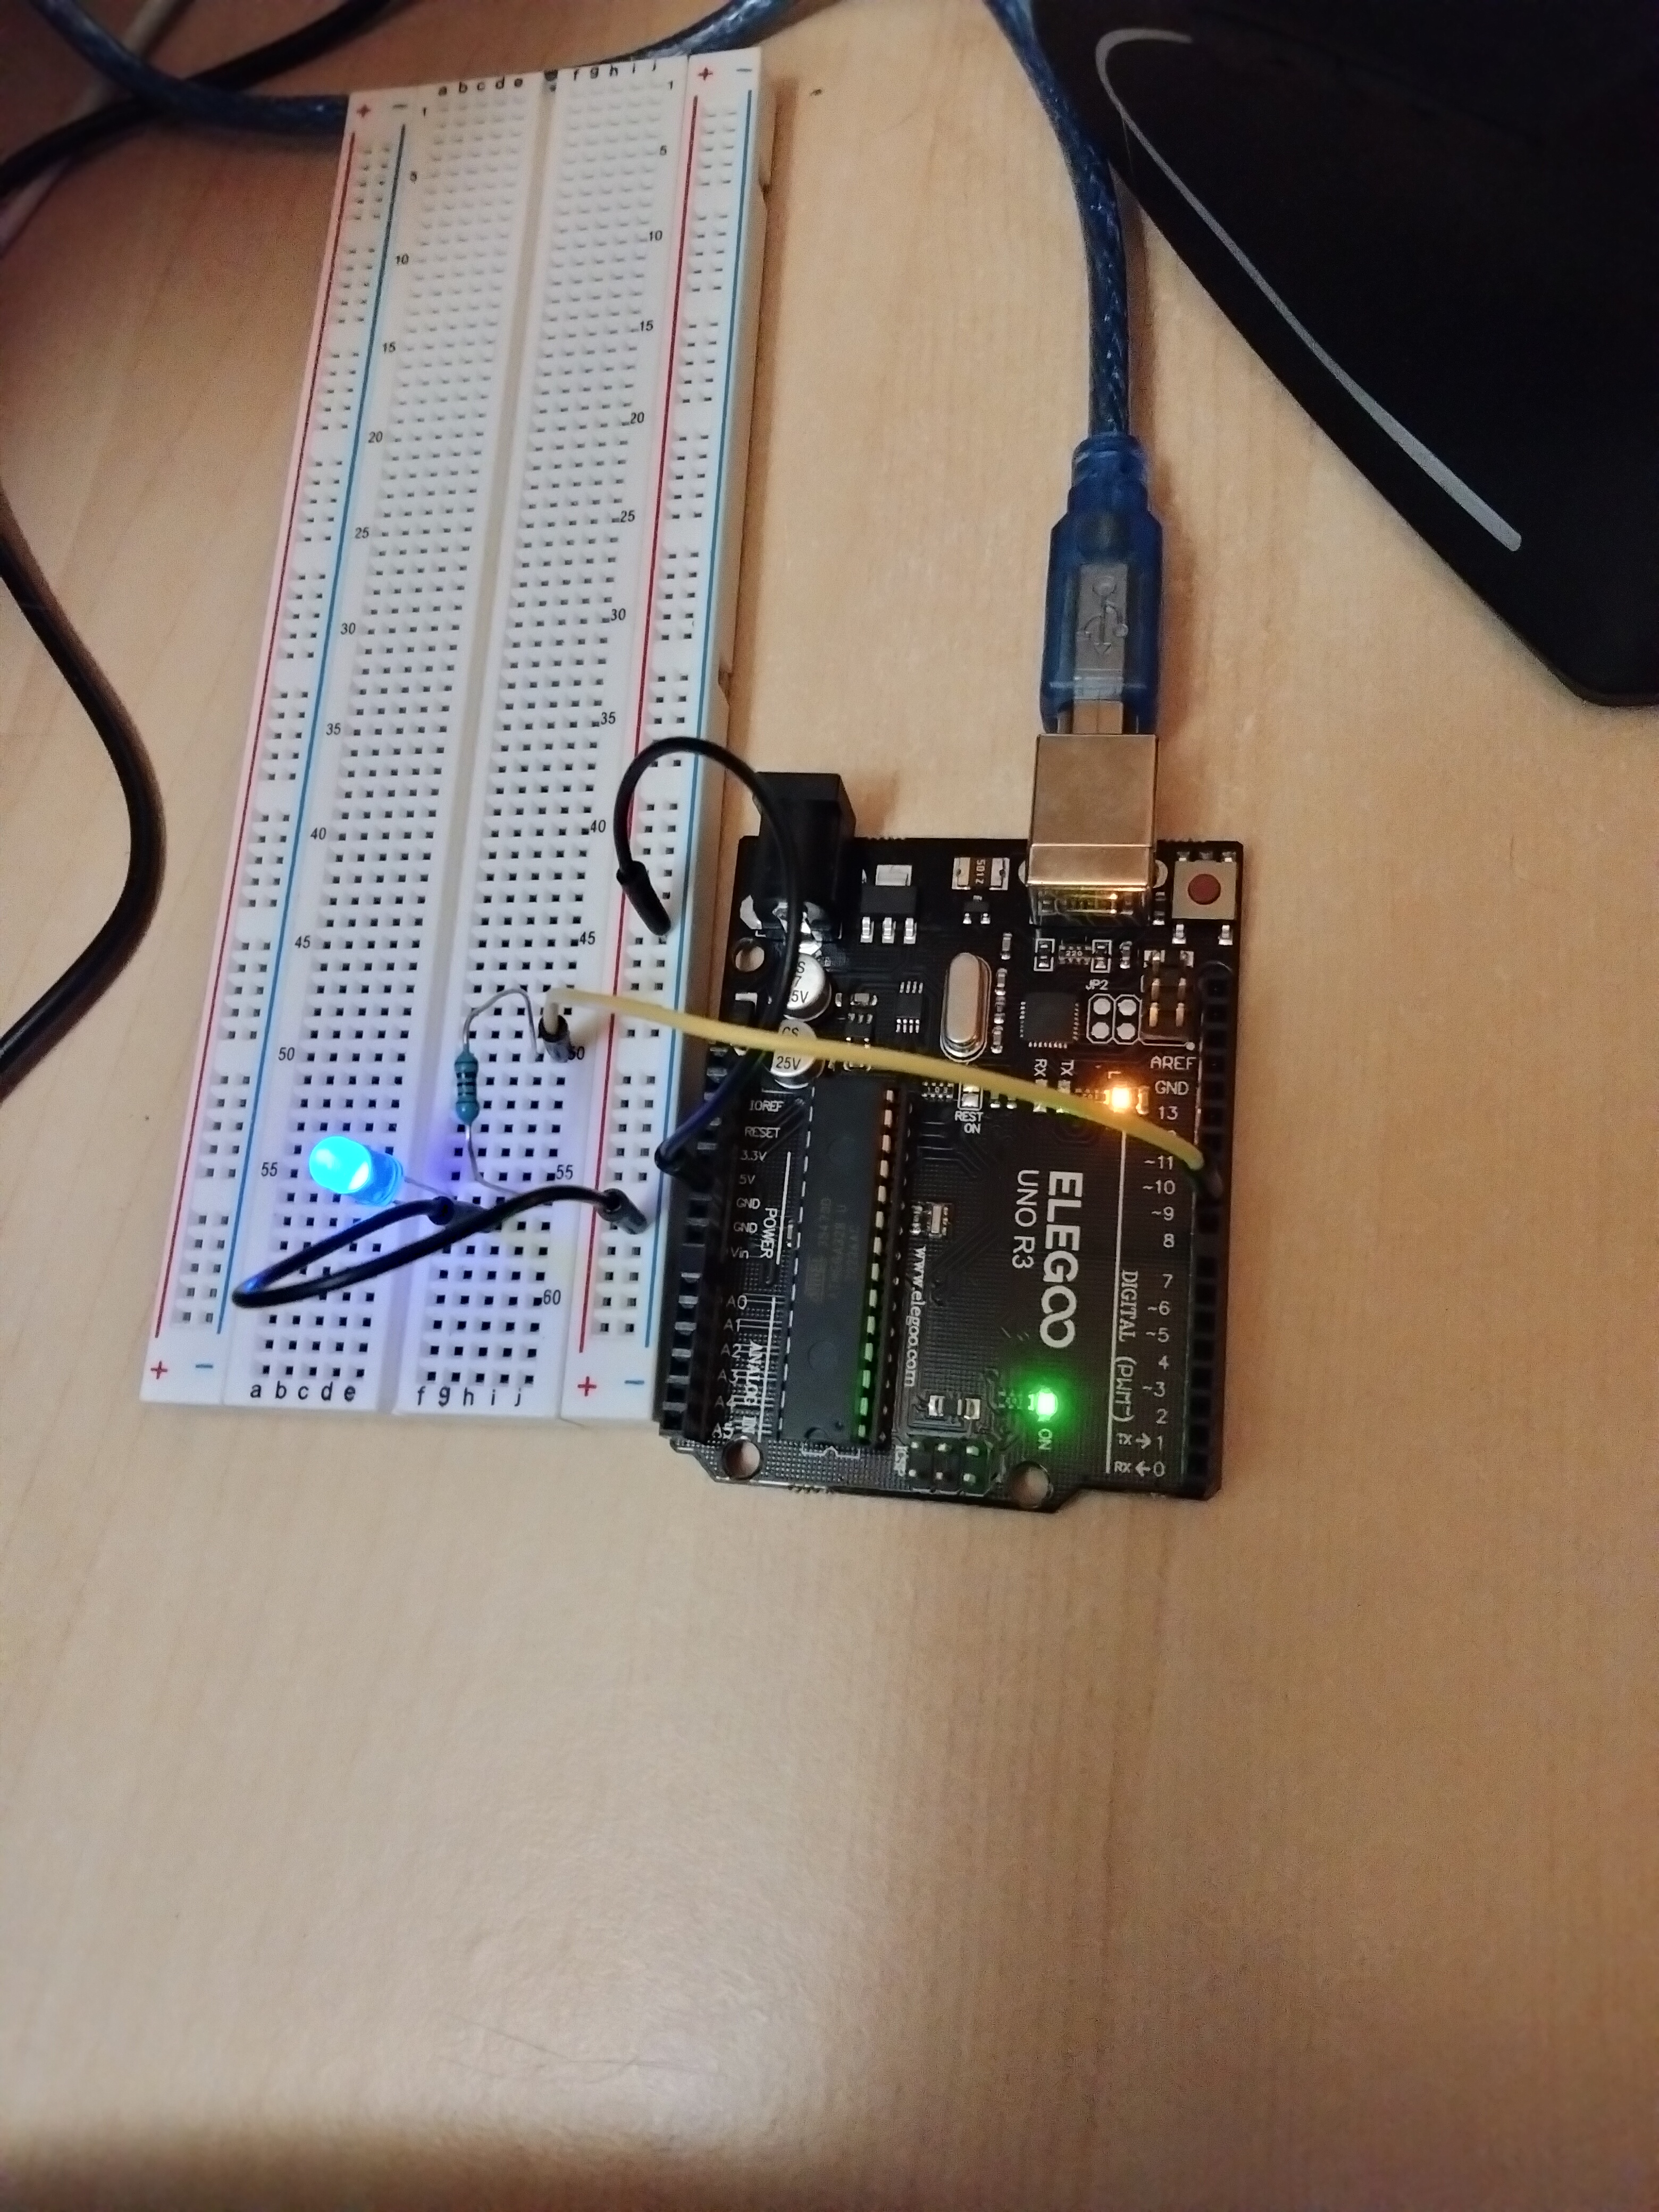
We will need


Go “File” -> “New”
Content of hello_world.ino
void setup() {
  // initialize serial communication:
  Serial.begin(9600);
}

void loop() {
  Serial.println("Hello world");
  delay(1000);    // delay for a second
}
Upload sketch and
Go “Tools” -> “Serial Monitor”
Content of temperature_dht11.ino
// Include the DHT11 library for interfacing with the sensor.
#include <DHT11.h>
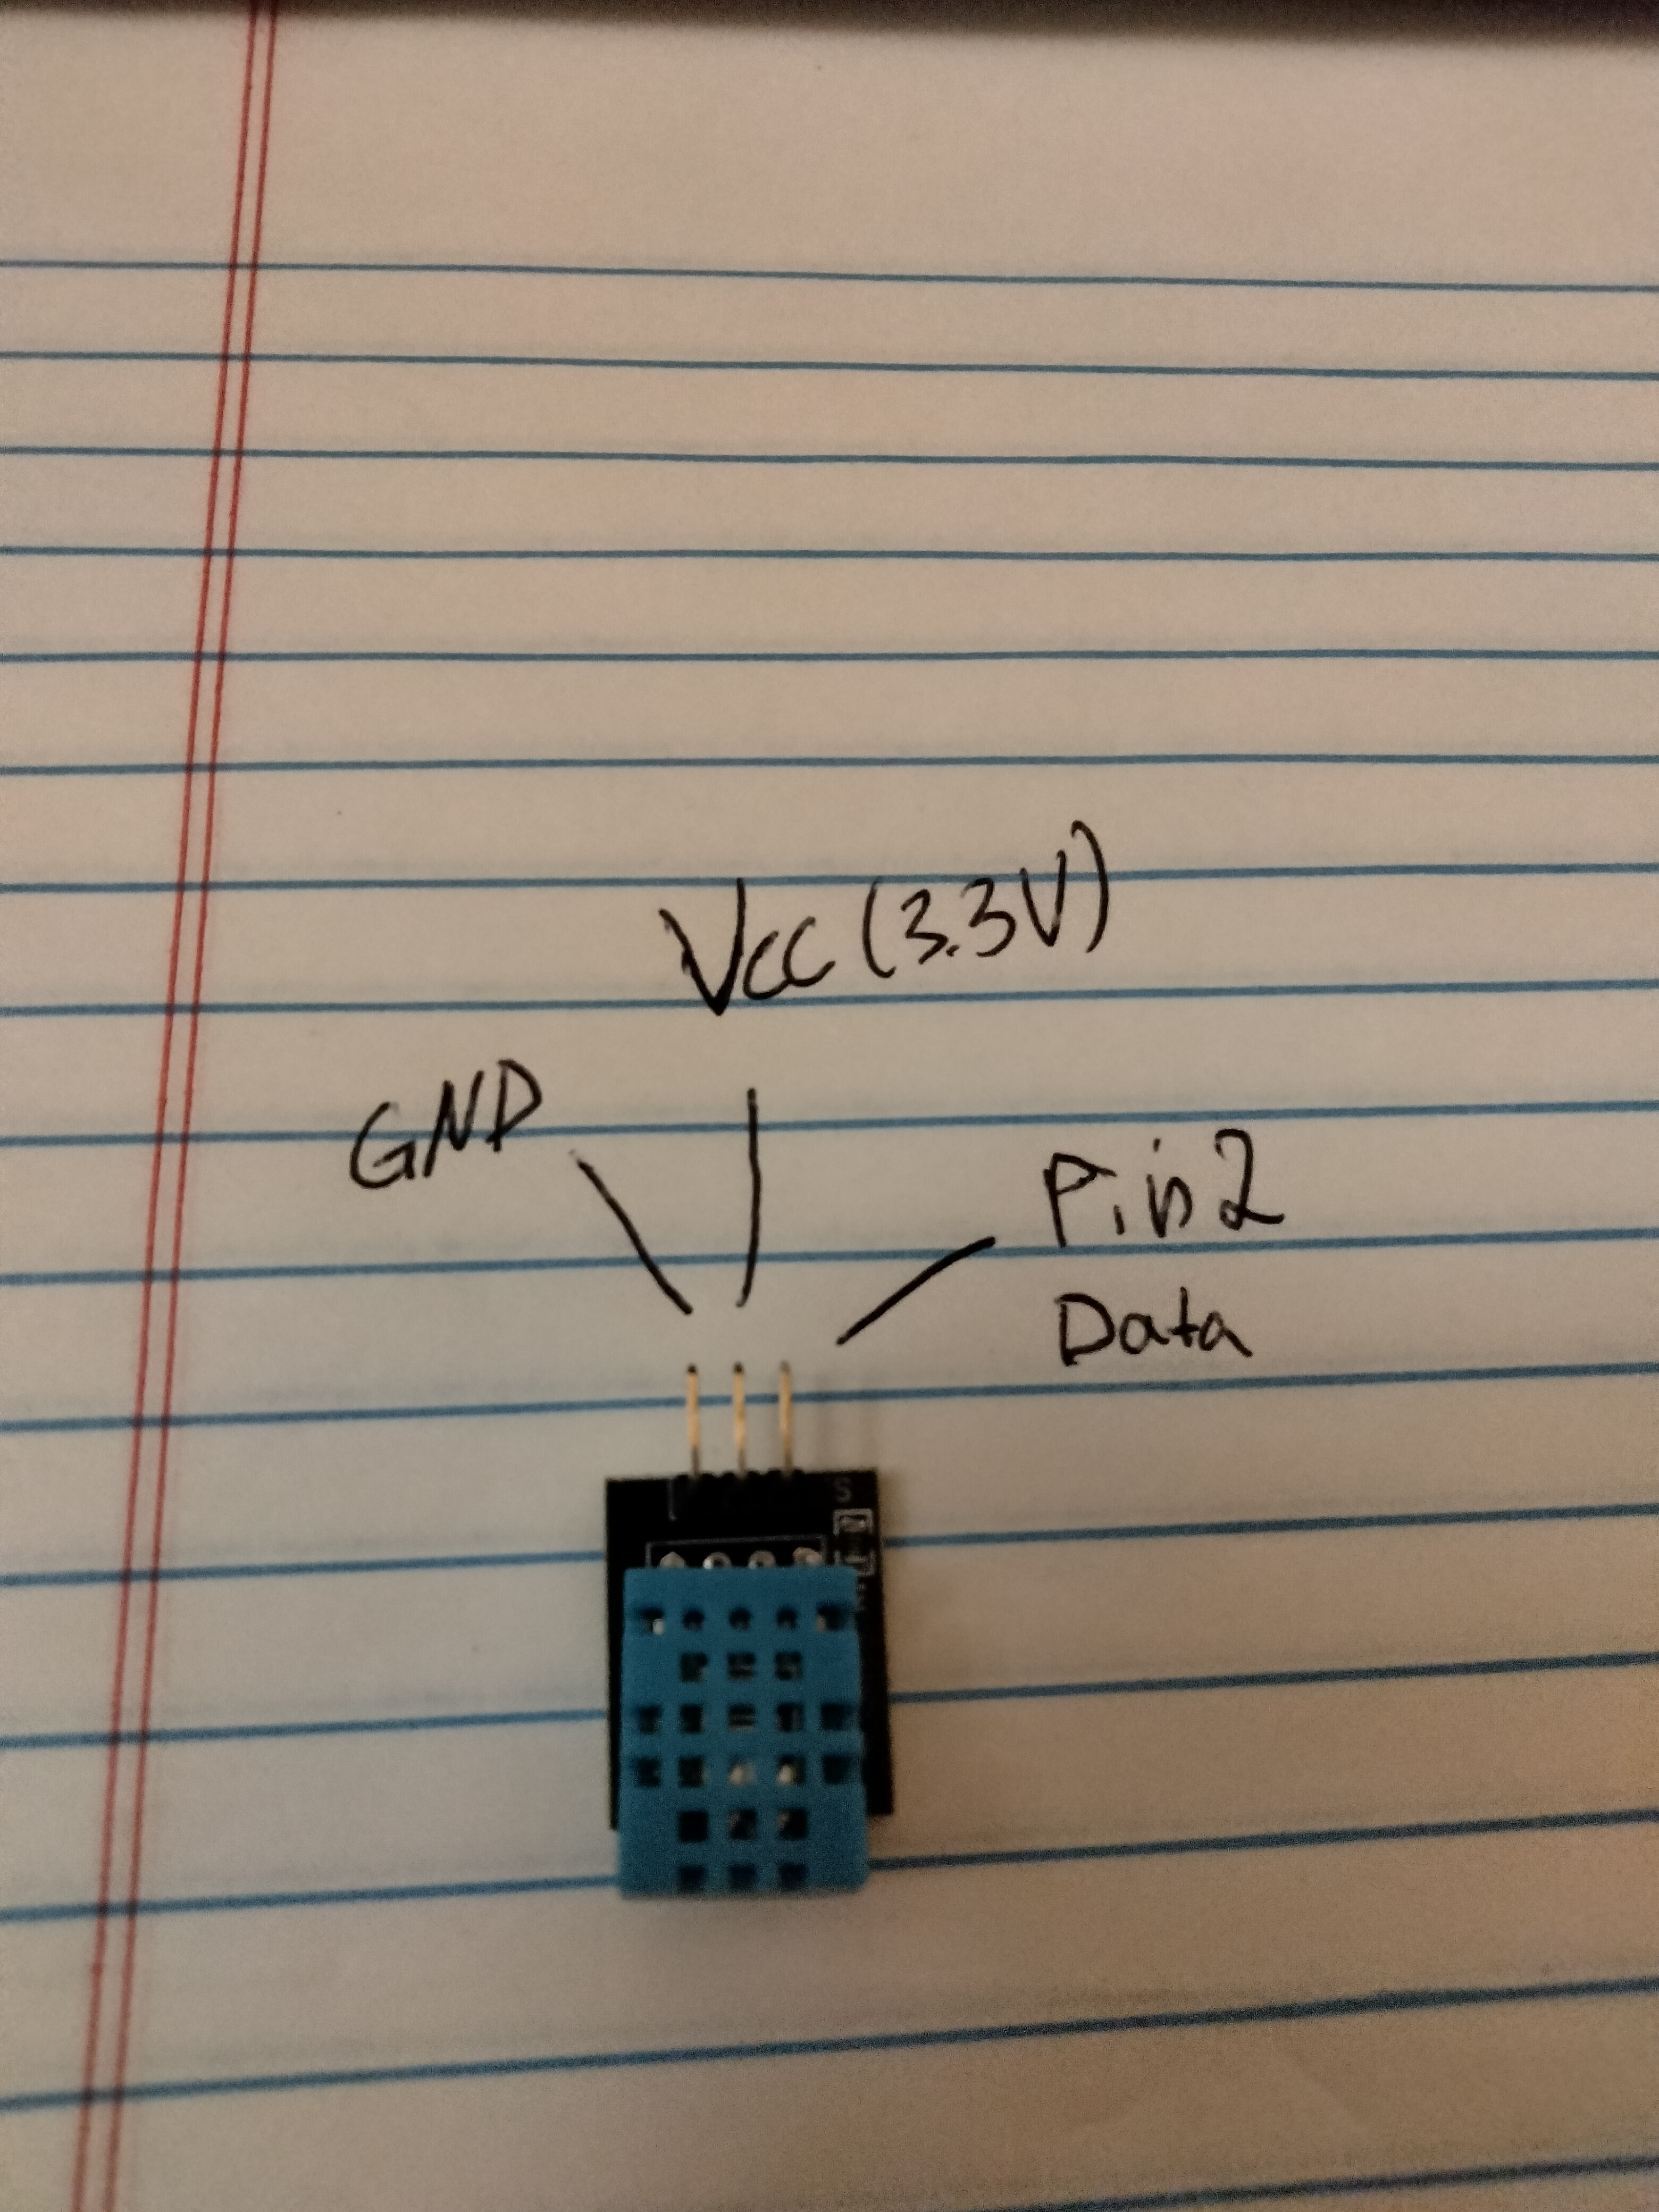
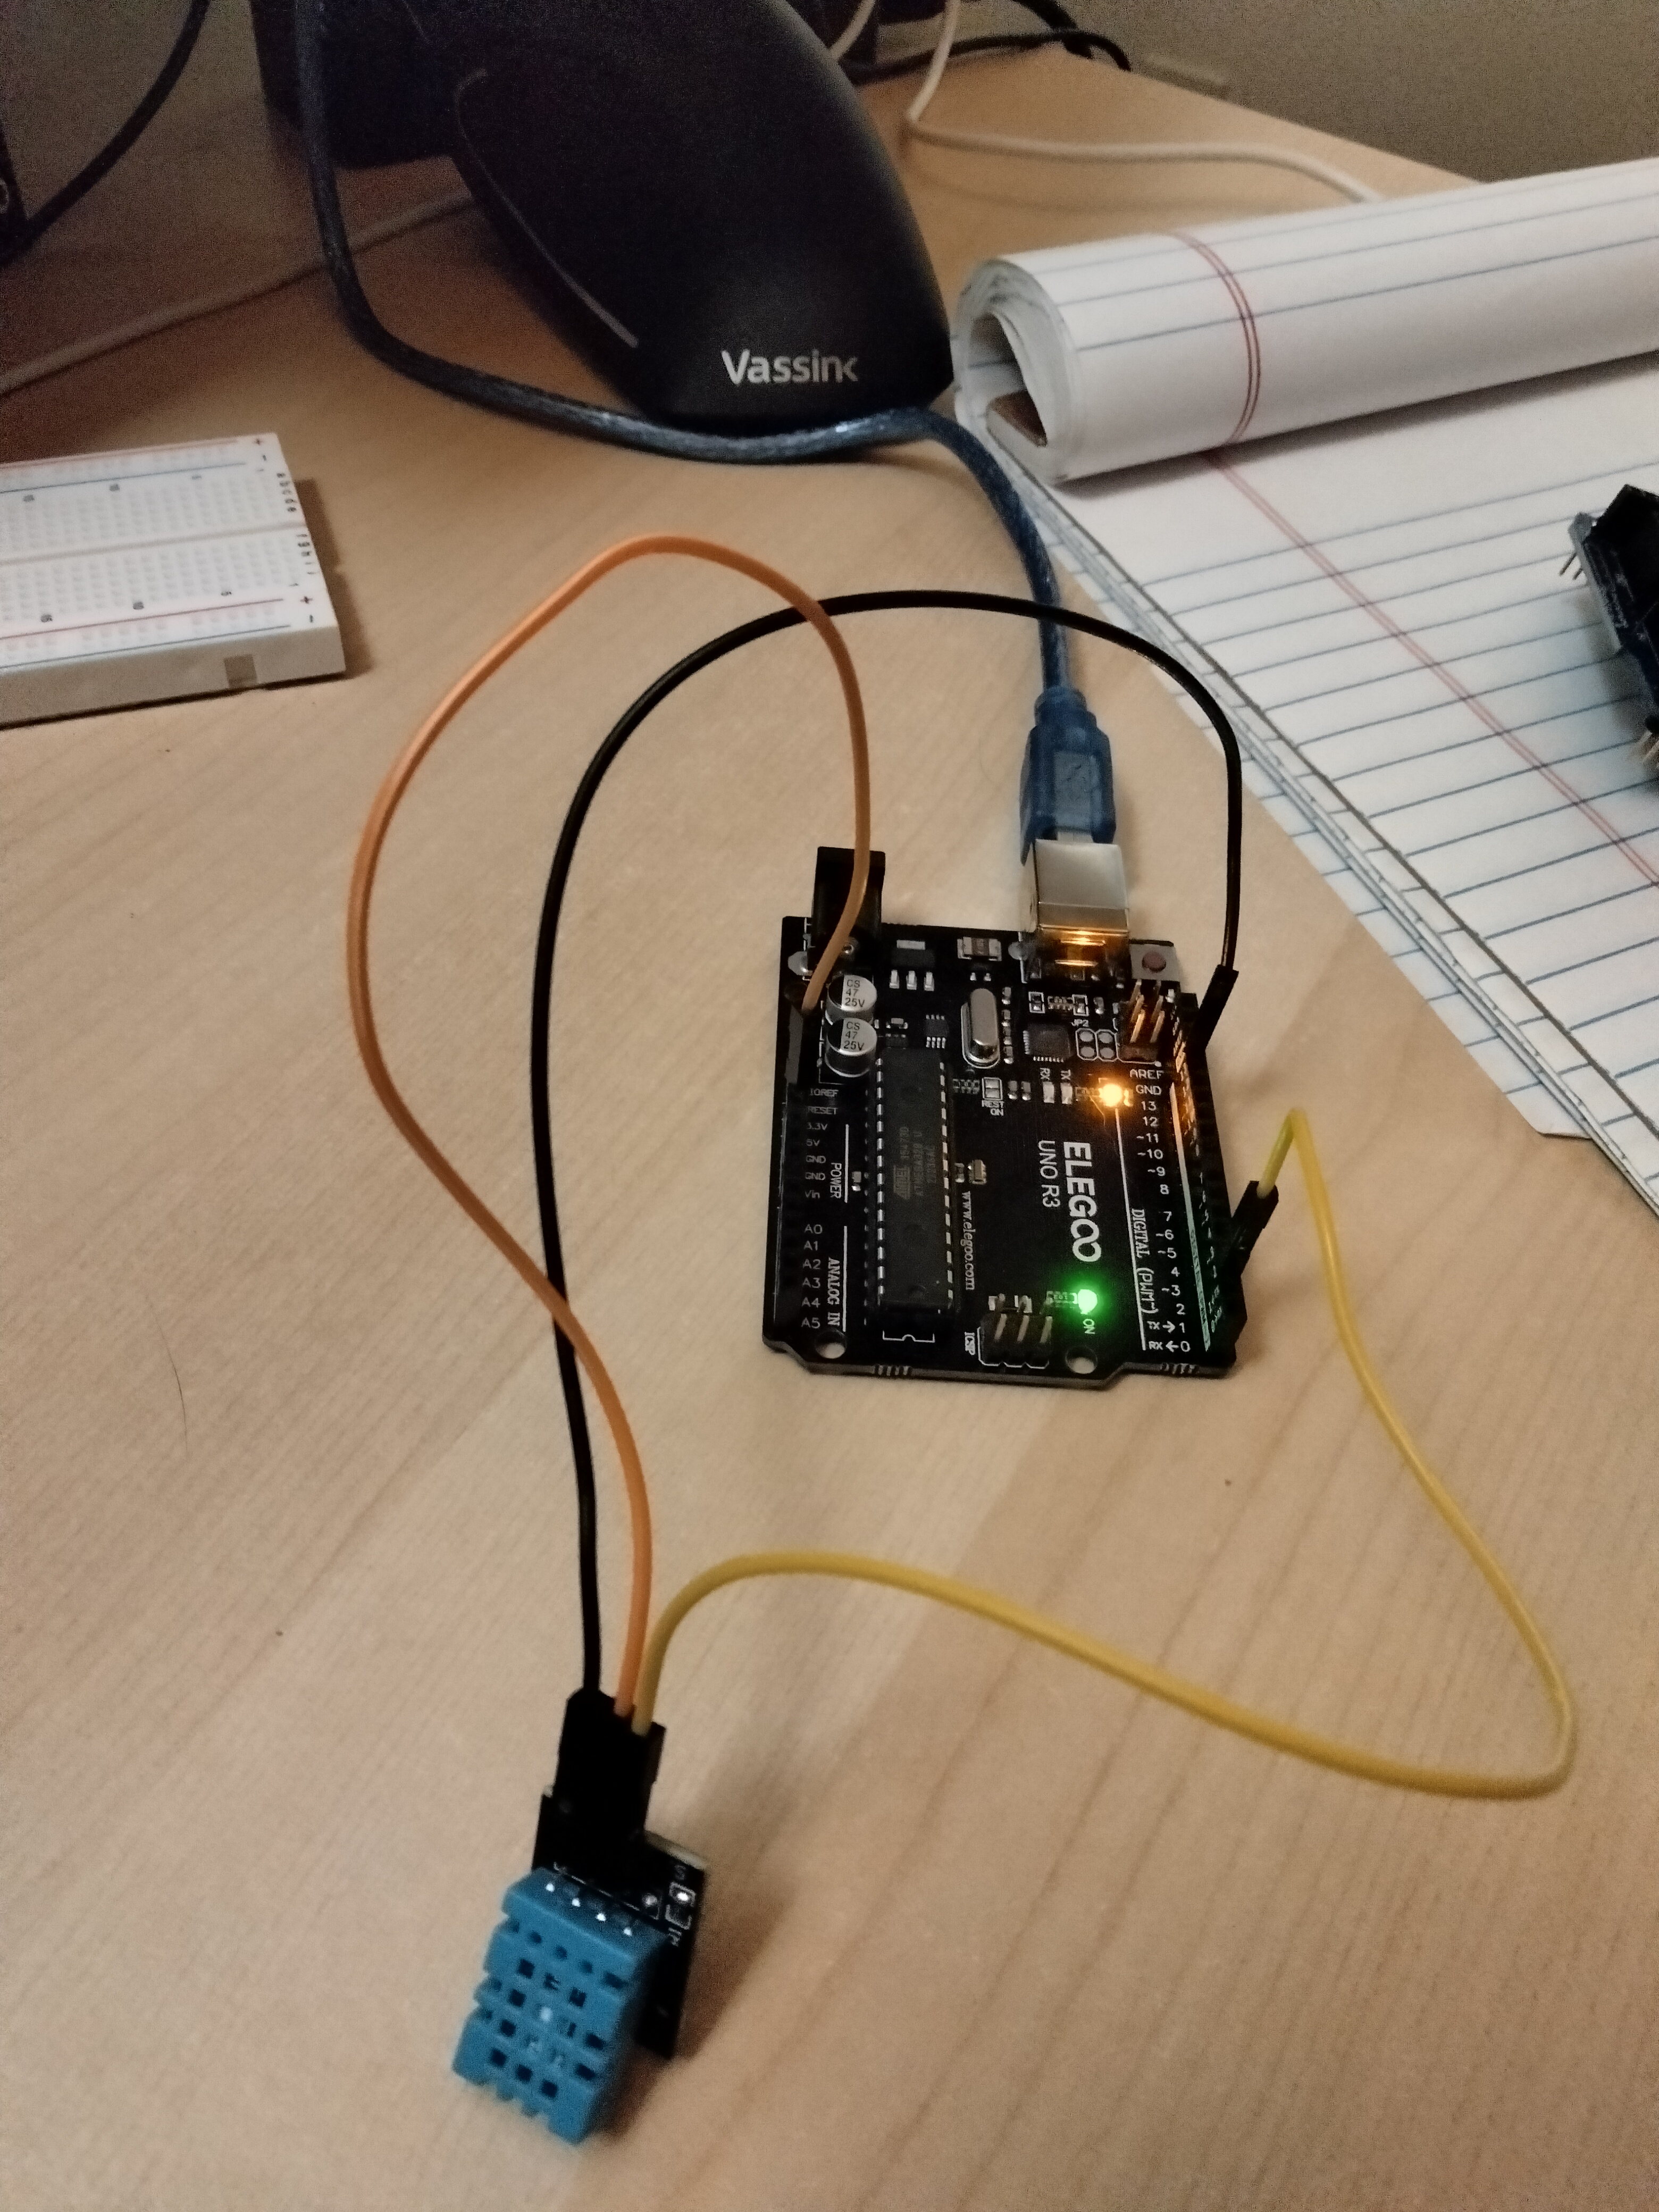
// Connect Connect the sensor to Digital I/O to Pin 2, also connect GND and Vcc(3.3V)
DHT11 dht11(2);

void setup() {
    // Initialize serial communication
    Serial.begin(9600);
}

void loop() {
    // Attempt to read the temperature value from the DHT11 sensor.
    int temperature = dht11.readTemperature();

    if (temperature != DHT11::ERROR_CHECKSUM && temperature != DHT11::ERROR_TIMEOUT) {
        Serial.print("Temperature: ");
        Serial.print(temperature);
        Serial.println(" °C");
    } else {
        // Print error message based on the error code.
        Serial.println(DHT11::getErrorString(temperature));
    }
    delay(1000);
}
Go “Tools” -> “Serial Monitor”
Find a speaker and assemble music box. Connect speaker to the pin 8 and ground.

Content of imperial_march.ino
/*
  Plays Imperial March

  circuit:
  - 8 ohm speaker on digital pin 8

  This example code is in the public domain.

  Based on https://www.arduino.cc/en/Tutorial/BuiltInExamples/toneMelody
*/

#include "pitches.h"

// notes in the melody:
int melody[] = {
  NOTE_A2, NOTE_A2, NOTE_A2, NOTE_F2, NOTE_C2,
  NOTE_A2, NOTE_F2, NOTE_C2, NOTE_A2,
  NOTE_E2, NOTE_E2, NOTE_E2, NOTE_F2, NOTE_C2,
  NOTE_AS2, NOTE_F2, NOTE_C2, NOTE_A2
};

// note durations: 4 = quarter note, 8 = eighth note, etc.:
int noteDurations[] = {
  4, 4, 4, 8, 8,
  4, 8, 8, 2,
  4, 4, 4, 8, 8,
  4, 8, 8, 2
};

void setup() {
  // iterate over the notes of the melody:
  for (int thisNote = 0; thisNote < 18; thisNote++) {

    // to calculate the note duration, take one second divided by the note type.
    //e.g. quarter note = 1000 / 4, eighth note = 1000/8, etc.
    int noteDuration = 2000 / noteDurations[thisNote];
    tone(8, melody[thisNote], noteDuration);

    // to distinguish the notes, set a minimum time between them.
    // the note's duration + 30% seems to work well:
    int pauseBetweenNotes = noteDuration * 1.30;
    delay(pauseBetweenNotes);
    // stop the tone playing:
    noTone(8);
  }
}

void loop() {
  // no need to repeat the melody.
}Content of pitches.h. Download this file and put in the same folder as your music sketch.
/*************************************************
   Public Constants
 *************************************************/

#define NOTE_B0  31
#define NOTE_C1  33
#define NOTE_CS1 35
#define NOTE_D1  37
#define NOTE_DS1 39
#define NOTE_E1  41
#define NOTE_F1  44
#define NOTE_FS1 46
#define NOTE_G1  49
#define NOTE_GS1 52
#define NOTE_A1  55
#define NOTE_AS1 58
#define NOTE_B1  62
#define NOTE_C2  65
#define NOTE_CS2 69
#define NOTE_D2  73
#define NOTE_DS2 78
#define NOTE_E2  82
#define NOTE_F2  87
#define NOTE_FS2 93
#define NOTE_G2  98
#define NOTE_GS2 104
#define NOTE_A2  110
#define NOTE_AS2 117
#define NOTE_B2  123
#define NOTE_C3  131
#define NOTE_CS3 139
#define NOTE_D3  147
#define NOTE_DS3 156
#define NOTE_E3  165
#define NOTE_F3  175
#define NOTE_FS3 185
#define NOTE_G3  196
#define NOTE_GS3 208
#define NOTE_A3  220
#define NOTE_AS3 233
#define NOTE_B3  247
#define NOTE_C4  262
#define NOTE_CS4 277
#define NOTE_D4  294
#define NOTE_DS4 311
#define NOTE_E4  330
#define NOTE_F4  349
#define NOTE_FS4 370
#define NOTE_G4  392
#define NOTE_GS4 415
#define NOTE_A4  440
#define NOTE_AS4 466
#define NOTE_B4  494
#define NOTE_C5  523
#define NOTE_CS5 554
#define NOTE_D5  587
#define NOTE_DS5 622
#define NOTE_E5  659
#define NOTE_F5  698
#define NOTE_FS5 740
#define NOTE_G5  784
#define NOTE_GS5 831
#define NOTE_A5  880
#define NOTE_AS5 932
#define NOTE_B5  988
#define NOTE_C6  1047
#define NOTE_CS6 1109
#define NOTE_D6  1175
#define NOTE_DS6 1245
#define NOTE_E6  1319
#define NOTE_F6  1397
#define NOTE_FS6 1480
#define NOTE_G6  1568
#define NOTE_GS6 1661
#define NOTE_A6  1760
#define NOTE_AS6 1865
#define NOTE_B6  1976
#define NOTE_C7  2093
#define NOTE_CS7 2217
#define NOTE_D7  2349
#define NOTE_DS7 2489
#define NOTE_E7  2637
#define NOTE_F7  2794
#define NOTE_FS7 2960
#define NOTE_G7  3136
#define NOTE_GS7 3322
#define NOTE_A7  3520
#define NOTE_AS7 3729
#define NOTE_B7  3951
#define NOTE_C8  4186
#define NOTE_CS8 4435
#define NOTE_D8  4699
#define NOTE_DS8 4978Have a look at Arduino examples
I recommend to look at How to wire and program a button